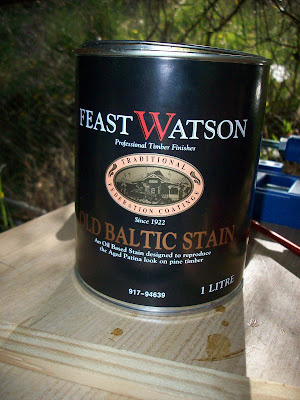
The quality is obvious when it is applied. I is so good that it almost doesn't need varnish, there is a real gloss on it after it dries. It does need to be covered though because it is not a durable finish on its own.
The pic below shows the rear panel of the bed which I had to take out to do the wiring and fix a problem with the framing after the water filler was installed. I took the opportunity to sand it and stain it outside. If you look carefully you can see a gloss on it already. This is one application of the stain without varnish.
 The pics following show the back of the kitchen cupboard with after one coat of stain and one coat of the varnish. I have chosen to use Bondall Marine Varnish because of it's UV resistance. Although clear and very high gloss, this varnish contains an additive which prevents UV from yellowing the pine. Most varnishes, even external ones don't prevent UV damage.

I will apply another coat of varnish to this after giving it a light sand with 240 grit sandpaper and the gloss finish should be fantastic and durable.
It is really hot here today, but I'll try to get the undersides of the overhead cupboards started, then it is just some minor trimming and then onto sanding, staining and 2 coats of varnish.
I've also fixed the cuboard to the floor now that the wiring is done. I used small angle brackets which I found at Bunnings. These will not get in the way of the carpet tiles that I want to put on the floor in the cupboards.
