I ordered the outside light though Peter from the Camec catalogue without finding out how much it was first. This is a lesson well learned. Don't do it. The light consists of two pieces of UV treated moulded plastic with 70 separate LED's and for this the retail price was $275.00. Peter discounted this for me quite a bit, but it is just stupid for a piece of plastic.
Anyway on the positive side, it is made in Italy (big deal) and instead of just one function, it has 35 LEDS on each of two circuits so you can alter the brightness and the power usage of the light to save the battery. It also has a single 12 volt LED which is wired separately. This means that it is possible to have just the single LED on as a night light. Of course this uses almost nothing from the battery.
Here it is. The $275.00 wonderlight. It would not fit up under the awning, so I thought that this was the next best spot for it. The window is the one over the shower/toilet and will never be opened, so I fixed the light to the glass with a combination of strong double sided tape and Sikaflex. It will never move. The wires were then covered in double walled heatshrink tube and run through the gap between the two pices of glass. This has worked out well, no extra holes in the body and the light which will come from the light when the awning is out will reflect off the awning underside and the glass (which I have lately made the decision to paint on the inside with white acrylic. The frosting should make a good foundation for the paint. I hope so anyway.
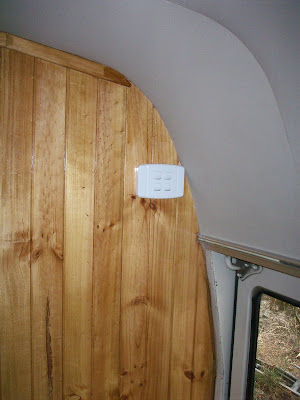
This pic shows the switch which is wired up to switch the 3 functions of the outside light and the waterproof 48 LED light in the shower/toilet. I put it next to the door so it can get accessed easily. Next post is the fitting of the tanks.

